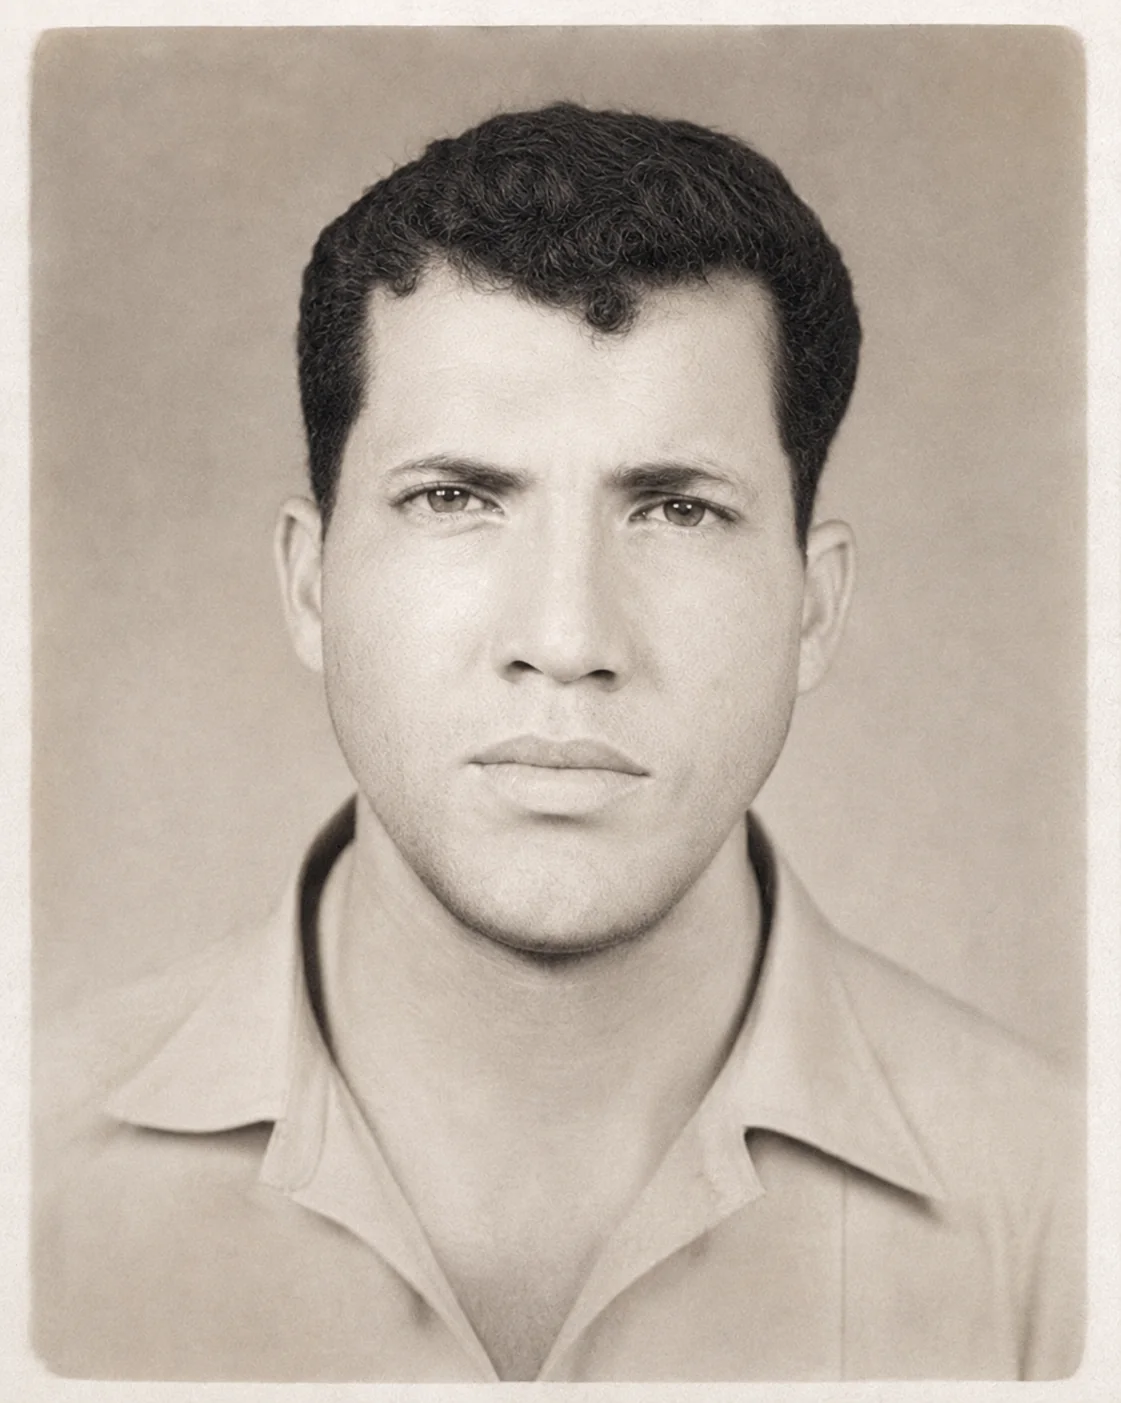
How to Restore Old Photos: A Complete Guide
Learn how to restore old photos with AI or manual editing. Compare photo restoration tools, repair damage, preserve faces, and try practical English prompts.
Learning how to restore old photos starts with a clear digital copy. Scan or photograph the print, repair scratches and fading, check that faces still look familiar, and save the result separately. AI can speed up the process, while manual editing gives you more control over difficult damage.
For a straightforward starting point, Veyvia’s photo restoration tool lets you choose scratch repair, face enhancement, and optional colorization, then add instructions about what to preserve.
The right approach depends on your photo. A faded holiday snapshot needs different treatment from a torn wedding portrait or a tiny scan of a grandparent. This guide helps you choose a method, follow a practical workflow, and avoid changes that make a family photograph less recognizable.
In this guide:
- Choose a restoration method for your photo.
- Scan, repair, review, and save your image.
- Compare Veyvia with five other editing tools.
- Explore a free restoration workflow.
- Use English prompts for common damage.
- Check authenticity and prepare a copy for printing.
- Understand fading and protect the physical original.
What Is Old Photo Restoration?
Digital photo restoration improves a scanned or photographed copy of an aging image. It can reduce visible scratches, balance faded tones, and make surviving details easier to see. It does not repair the physical print.
Three tasks often get bundled together:
| Task | What it changes | When you need it |
|---|---|---|
| Restoration | Scratches, creases, stains, and uneven fading | The photograph has visible damage |
| Enhancement | Clarity, noise, contrast, and apparent sharpness | The image is soft or difficult to read |
| Colorization | Adds an interpretation of color to monochrome images | You want a separate color version |
You can restore a black-and-white photo without colorizing it. You can also improve a faded color print without inventing a new palette. Decide which result you want before choosing settings.
Why Do Old Photos Fade or Change Color?
A scratch is physical damage; fading can involve changes to the image-forming materials. Heat, moisture, light, unsuitable storage, and handling can all contribute to deterioration. In color prints, dyes may fade at different rates, leaving a color cast. A blue or metallic sheen on some silver-based photographs can be a material change rather than ordinary dirt.
The Wikipedia overview of photograph conservation explains why the photographic process matters: paper prints, glass plates, and metal photographs have different structures and care needs. Appearance alone is not enough to identify the process or choose a physical treatment.
For your digital workflow, this means correcting the visible color cast in a copy will not stop the original from deteriorating. Photograph conservation addresses the physical object; digital restoration edits its reproduction. Use a conservator for questions about the object itself and an editor or digital retoucher for changes to the scan.
Which Restoration Method Should You Use?
Start with the main problem, then choose the least complicated method that addresses it.
| Your photo or goal | A sensible first approach | What to check |
|---|---|---|
| Light scratches and general fading | AI restoration | Remaining marks and unnatural contrast |
| A blurry portrait with little physical damage | Gentle face enhancement | Eye shape, mouth, age, and expression |
| A crease crossing a face | Local manual repair, with cautious AI assistance | Facial proportions across the repaired area |
| A faded color snapshot | Tone and color correction | Skin tones and clothing colors |
| A black-and-white family portrait | Repair with colorization disabled | Original tones and film texture |
| A large missing section | A skilled digital retoucher | How much of the result is reconstruction |
| A fragile or stuck physical print | Advice from a photograph conservator | Whether it can be safely digitized |
If your main issue is softness, Veyvia’s photo unblur tool is another route to explore. Repair visible damage before adding strong sharpening: otherwise, the scratches can become more prominent too.
How to Restore Old Photos Step by Step
1. Make the Best Digital Copy You Can
A better scan gives every restoration method more useful information. If you still have the print, start there rather than downloading a compressed copy from a messaging app.
For a typical small family print, 600 ppi is a practical starting setting when your scanner supports it. Consider a higher optical resolution for very small originals or substantial enlargement. Scanning at an interpolated resolution cannot create detail missing from the print.
Scan in color if you want to retain sepia tones, paper coloration, or handwritten marks. Keep an untouched master, ideally in a lossless format such as TIFF or PNG, and make a separate working copy.
No scanner? Place a stable print in even, indirect light. Keep the camera parallel to it, include the entire photograph, and avoid flash, reflections, and shadows. Take several versions and compare focus before putting the print away.
The U.S. National Archives’ digitization guide recommends keeping physical originals after digitization and cautions against equipment or handling that could damage them. Do not force a brittle photograph flat or feed a fragile print through a document scanner.
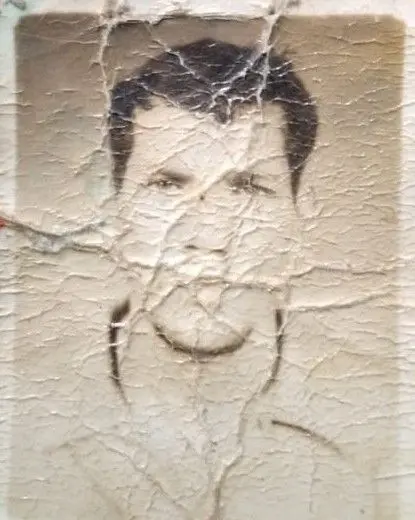
Veyvia gallery example: the source portrait before restoration. Keep a copy like this alongside every edited version.
2. Decide What Must Stay the Same
Before editing, write down two things: the damage you want removed and the details you want preserved.
For example: remove the crease beside the left cheek, but keep the original expression, hairstyle, sepia tone, and clothing. This makes your instructions more useful than a general request to make the photograph look new.
If a face is badly damaged, look for another photograph of the same person to use as a comparison. A clear reference can help a human retoucher judge a repair, though it does not prove what was present in the missing area.
3. Upload Your Working Copy to Veyvia
Open Veyvia Photo Restoration and select a JPG, PNG, or WebP file within the displayed 20 MB limit. Convert a copy of your TIFF scan if needed; keep the TIFF master separately.
Choose the options that match the damage:
- Repair scratches & creases: request cleanup of marks and print damage.
- Enhance faces: request more facial detail; inspect the result closely.
- Colorize black & white: enable this only if you want an added-color version.
Colorization is off by default. Use the optional restoration notes to describe specific damage and preservation preferences. Sign in and review the credit requirement before starting. Restoration requires an active plan and enough credits.
The preview remains local until you click Restore. The photo is then uploaded for processing, and the result is saved to your account.
4. Repair Damage, Then Reassess Detail
Start with the repairs your photo actually needs. If faces already look clear, try scratch repair without face enhancement first. That gives you a useful baseline for deciding whether another change is necessary.
Where a tool permits separate passes, evaluate damage repair before requesting stronger enhancement or colorization. Return to the original working copy if a result changes the person or scene. Repeatedly processing an already altered face can compound the mistake.
For leftover marks, a manual editor can help you work locally. Avoid applying a stronger whole-image effect just to remove one scratch from a plain background.
The corresponding AI-restored gallery example. Compare the full image and small facial details; this illustration is not a guarantee of results for another photograph.
5. Compare the Result with the Original
View both versions at the same size. Inspect them at 100% magnification, then step back and judge the whole image.
Ask whether the edit preserves the things relatives would recognize: expression, age, hairline, posture, and the shape of the eyes and mouth. Check clothing patterns, jewelry, fingers, and background objects too.
A smoother face is not automatically a more faithful restoration. If the result looks convincing but unfamiliar, try less enhancement or repair only the damaged area.
6. Save a Master and a Sharing Copy
Keep the source scan, your chosen restored version, and any colorized interpretation as separate files. Use descriptive names such as grandparents-wedding-original-scan.tif and grandparents-wedding-restored-bw.png.
Save an editable project when working in a desktop editor. Export a high-quality JPEG for convenient sharing, and keep a lossless edited copy when your tool supports it. Back up the files in more than one location.
Photo Restoration Tools Worth Considering
These recommendations are based on documented features and workflow fit, rather than a hands-on quality ranking. Try the same working copy in your shortlisted tools before committing to a large album.
| Tool | Consider it for | Main tradeoff |
|---|---|---|
| Veyvia | Browser restoration with selectable repairs and written notes | Requires a plan and credits; outputs need review |
| Adobe Photoshop | Combining automated restoration with precise local repairs | More learning and manual work |
| MyHeritage Photo Repair | Repairing historical photos in a family-history workflow | Review access conditions for your account |
| Remini | Exploring face enhancement, unblurring, and old-photo cleanup | Check facial likeness after enhancement |
| Fotor | Online restoration and optional colorization | Check the terms for the export you need |
| GIMP | Free desktop retouching with manual control | Requires editing skills and time |
Choose Photoshop when one damaged area needs careful attention. Adobe documents its Photo Restoration Neural Filter alongside the Spot Healing Brush and Clone Stamp. That combination is useful when automatic cleanup leaves a crease or creates a visible seam.
Consider MyHeritage when restoration belongs to a genealogy project. Its Photo Repair tool targets damage such as scratches and tears, and its documentation says the original remains intact.
Try Remini when facial clarity is your main concern. Its product lineup includes face enhancement and old-photo restoration. Compare the face before and after instead of choosing solely by sharpness.
Consider Fotor for a browser editing workflow. Its restoration page describes damage cleanup and colorization. Confirm whether your intended download is included before spending time on a batch.
Choose GIMP when you want a free desktop editor. It supports photo retouching, but expect to make editing decisions yourself.
How to Restore Old Photos for Free
A free workflow is to digitize the print with equipment you already have, then edit a copy in GIMP, a free, open-source image editor.
Work on a duplicate layer. Adjust overall tone conservatively, repair small marks in manageable sections, and compare frequently with the untouched layer. Save the editable project before exporting a sharing copy.
This approach trades convenience for control. A few dust spots may be manageable for a beginner; a tear across someone’s eyes is a much harder task.
For online services, distinguish a free preview from a usable free download. Check output size, watermarking, trial conditions, and whether the advertised feature is included. Avoid uploading an entire album before confirming that one exported result meets your needs.
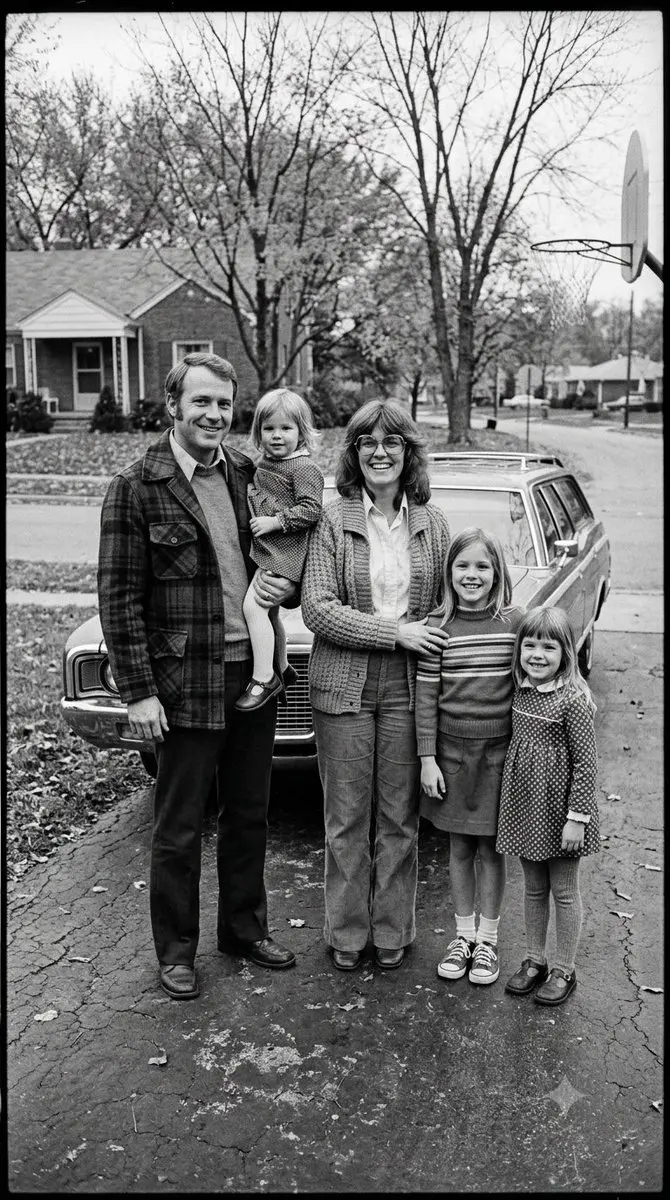
A family portrait introduces multiple faces to review. Inspect each person individually, including people who appear small in the frame.
English AI Prompts for Restoring Old Photos
Specific instructions help communicate what should change and what should remain. Browse Veyvia’s old photo restoration AI prompt collection for more examples.
The five concise English adaptations below draw on selected scenarios in @igdir1903’s original prompt post. The post already pairs English prompts with Turkish explanations; these versions simplify the instructions and avoid promises of recovering unknowable details.
For Scratches and Small Tears
Retouch scratches and the torn corner in this monochrome scan. Blend repairs into nearby texture. Retain facial identity, composition, and the photograph’s existing grain.
For an Unevenly Faded Sepia Print
Even out fading in this sepia portrait. Keep its warm monochrome character. Clean small cracks without changing expressions, clothing, or the background. Do not add full color.
For a Fold Across the Image
Repair the central fold and damaged edges using adjacent image detail. Keep people and objects in their current positions. Leave undamaged areas unchanged.
For Bright Highlights and Dark Shadows
Improve tonal balance so surviving highlight and shadow detail is easier to see. Keep a restrained vintage appearance. Do not invent content in completely blank areas.
For Optional Colorization
Create a softly colorized version using plausible period colors. Preserve the original geometry and texture. Follow supplied color references where available. Avoid intense saturation.
Replace generic locations with what you actually see: a vertical line through the jacket, a stain along the bottom border, or fading around the left edge. Add known color information only when you have a reference.
In Veyvia, use these as restoration notes and align the options with the request. A monochrome-preservation note should go with colorization disabled. Text instructions guide the model; they do not guarantee identity preservation or historical accuracy.
How to Restore Old Photos in Photoshop
For more local control, Adobe’s restoration workflow combines automated processing with manual retouching:
- Open your scan and protect the original layer.
- Use Filter → Neural Filters → Photo Restoration where available, adjusting enhancement and scratch reduction conservatively.
- Repair remaining marks with the Spot Healing Brush or Clone Stamp on a separate layer.
- Refine tone and color, checking against the source.
- Save the layered document, then export a copy.
Use smaller repairs around eyes, lips, lettering, and patterned fabric. Sample nearby areas carefully so repeated textures or mismatched edges do not make the repair obvious.
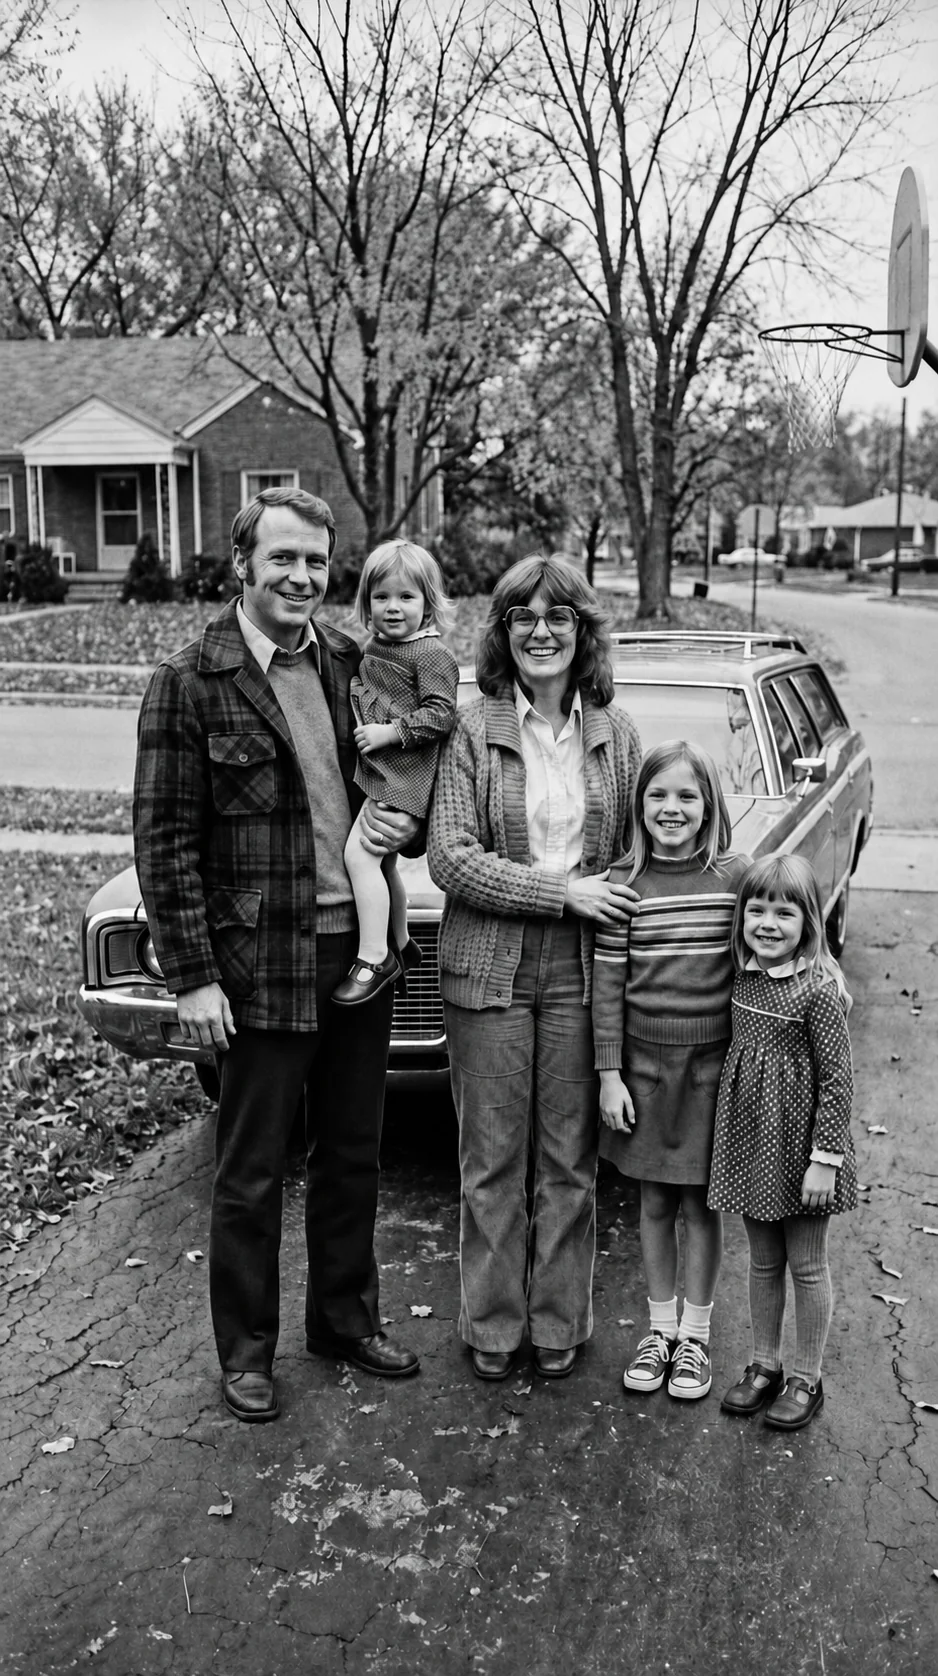
The corresponding restored family example. Use the interactive comparison on Veyvia to inspect the supplied before-and-after pair.
Common Restoration Problems and How to Handle Them
The face looks younger or different. Return to the source and reduce face enhancement. Keep wrinkles, expression lines, and natural asymmetry unless they are clearly damage on the print.
Skin looks waxy. Use less denoising or sharpening and request that natural texture remain. Some film grain belongs to the image.
Scratches remain around detailed edges. Switch to local retouching instead of increasing the intensity everywhere.
Colorization looks plausible but wrong. Keep it as a labeled interpretation, and supply known references if you have them. A monochrome image cannot reveal every original color.
A large missing area looks invented. Treat that section as reconstruction. If identity or documentary accuracy matters, keep the gap visible or ask a skilled retoucher for a restrained alternative.
The restored copy looks soft when printed. Check pixel dimensions against the intended print size. At 300 pixels per inch, an 8 × 10-inch print calls for 2400 × 3000 pixels. That arithmetic describes image dimensions, not a guarantee of detail. Print a small proof before ordering a large enlargement.
How to Protect the Original After Restoration
Once you have a restored copy, give the physical photograph a suitable home. The U.S. National Archives’ storage guide recommends avoiding damp basements, garages, and hot attics, and keeping collections away from leaks. Store photographs on a shelf in appropriately sized containers without bending or overcrowding them.
Choose photo-storage materials that have passed the Photographic Activity Test (PAT). Avoid self-stick albums, household glue, pressure-sensitive tape, and unknown plastics. Photo corners offer a way to mount suitable prints without applying adhesive directly to them. Cold storage requires special packaging and handling; it is not simply a matter of putting an album in a refrigerator.
A useful family-archive routine is to keep three clearly labeled versions: the physical original, an untouched scan, and a restored copy. Use the edited copy for everyday sharing. Record names, approximate dates, and which details were reconstructed so relatives can distinguish family knowledge from an AI interpretation.
If a photograph is stuck to glass, flaking, or unusually fragile, pause before removing it from its enclosure. Seek advice about safe digitization before trying a physical repair. A restored download is a new copy to enjoy while you continue caring for the original.
Frequently Asked Questions
Can I restore old photos on my phone?
Yes. Make a clear photograph or scan of the print, then use a mobile-compatible restoration tool. Keep the camera parallel to the print and avoid glare. Review faces at full size before saving the result.
Can AI restore a severely damaged photo?
AI may improve the visible damage, but missing areas require reconstruction. It cannot verify details that no longer exist in the source. Large losses across faces often benefit from careful manual work and reference photographs.
Can I restore a photo without changing the face?
You can request identity preservation and avoid face enhancement, but you still need to compare the result. For delicate repairs, local manual editing offers more control over which areas change.
Should I restore or colorize a photo first?
Repair and review the image first when your workflow allows separate steps. Keep that restored monochrome copy, then create a separate colorized version if wanted. This makes added colors easier to evaluate.
What resolution should I scan old photos at?
For many small family prints, 600 ppi is a useful starting point. Smaller originals or larger planned prints may justify higher optical resolution. Focus, source detail, and careful handling matter as much as the resolution setting.
Is old photo restoration free?
Manual restoration with GIMP is free. Online tools may charge for processing or downloads, even when a preview is free. Veyvia restoration requires an active plan and sufficient credits.
Can software remove water damage from a physical photo?
Software can edit visible stains in a digital copy; it cannot treat the physical object. For fragile, stuck, or mold-affected photographs, consult a photograph conservator. The Library of Congress photograph care guide explains handling and storage considerations.
Start with One Photo You Know Well
Choose a photograph whose faces and details you recognize. Make a clear scan, request the repairs it needs, and compare the result before moving on to the rest of the album.
Restore your first old photo with Veyvia, or explore the old photo restoration prompt collection to find instructions that fit your image.